Step by Step Guide to Properly Installing a New Roof for Lasting Protection and Peace of Mind
- Wealth Construction

- May 14, 2025
- 4 min read
Updated: May 26, 2025
A leaky roof is more than just an inconvenience; it can lead to serious water damage and structural problems. For homeowners, replacing a roof is a significant investment. Doing it right is crucial for lasting protection and peace of mind. This guide will walk you through the essential steps to install a new roof effectively, helping you avoid future leaks and headaches.
Step 1: Initial Inspection and Assessment
Begin with a thorough inspection of your current roof. Look for signs of wear like cracked or missing shingles, rusted flashing, or sagging areas. According to a survey by the National Roofing Contractors Association, about 34% of homeowners face roof problems due to lack of maintenance. You may need a complete tear-off of the old roof if the damage is extensive. Understanding local building codes will also guide your decision-making process.

Step 2: Removing the Old Roof
If a complete tear-off is necessary, carefully remove all old roofing materials, which includes stripping away shingles, underlayment, and flashings. The removal process should be done meticulously to prevent damage to the underlying structure. Tarps shall be placed on the ground to make clean up easier and efficient. Falling debris can cause serious injuries, so ensuring safety is a priority.

Step 3: Inspecting & Replacing Damaged Roof Decking
After removing the old roof, inspect the roof deck for damage or rot. Research indicates that 15% of roofs fail due to a compromised roof deck. If issues are found, repair them before proceeding. A solid roof deck is vital for your new roof's durability against harsh weather conditions, ensuring it holds up over time.
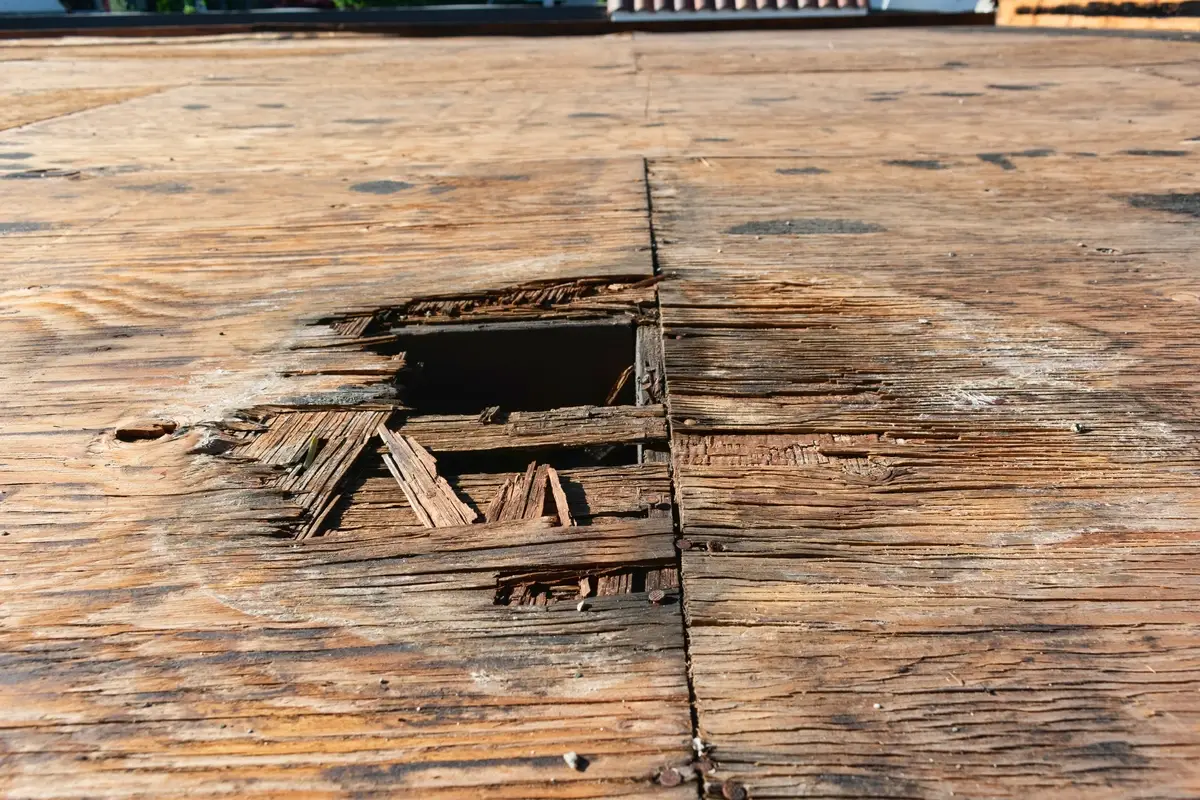

Rotted decking that needs to be replaced
Step 4: Installing Drip Edge
A drip edge is a critical component in a roofing system, and it's needed for several important reasons; it protects the Roof's Edge and Prevents Water Intrusion.
The drip edge is a metal flashing installed along the edges of the roof. It's designed to direct water away from the fascia (the board behind the gutter) and into the gutters, preventing water from seeping under the roofing materials and causing rot or damage to the roof deck and fascia.
Without a drip edge, water can wick back under the shingles or roofing material due to capillary action. This can lead to leaks and long-term structural damage. By preventing water intrusion and damage to key structural components, a drip edge helps extend the lifespan of the entire roofing system.


White Drip Edge
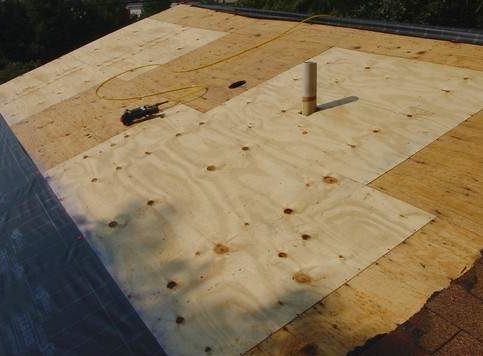
Step 5: Installing Ice & Water Shield and Underlayment
Once the decking has been stripped, nails removed, and drip edge installed. The roof is ready for underlayment. In northern climates, 1-2 rows of a different type of underlayment called ice and water shield are installed along the eaves, valleys, penetrations, dormers, and chimney's of the roof. The purpose of this underlayment is to prevent ice dams from forming when snow melts and refreezes at the roof's edge. That process can force water under the shingles. So it provides a secondary barrier if shingles are damaged or wind-driven rain gets underneath them.


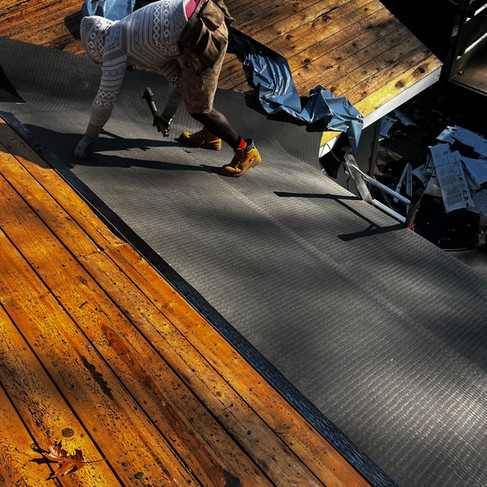
Installing Ice & Water Shield
Now it’s time to to cover the remainder of the roof with felt or synthetic underlayment. This layer acts as a shield against moisture while adding insulation. Synthetic underlayment can increase the roof's lifespan by providing better water resistance and better performance.

Step 8: Installing New Architectural Shingles
We're ready to start installing the new shingles. There are two types of asphalt shingles; architectural & 3-tab shingles. Architectural also called Laminated shingles have virtually stopped the purchase of 3 tab shingles. Although 3-tab shingles can still be bought at big box stores, no roofer would recommend replacing a whole roof with them. The only time 3-tabs are typically used are for repairs. The reason why that is, is because Architectural shingles are like a upgraded 2.0 version of their predecessor; the 3-tab. Architectural's are thicker, multi-layered, more resistant to wind, rain, and hail. As well as offering more warranties. And with the rise in popularity of them the price of one bundle has come down, closer to the price of one bundle of 3-tab shingles.
Each layer must be correctly aligned and nailed according to the manufacturer specifications to ensure water sheds properly and warranties are maintained by the manufacturer.


Installed Architectural Shingles
Step 9: Adding Flashing and Ventilation
The last step is to install flashing around chimneys, vents, and roof penetrations to create a watertight seal. Proper ventilation is also key to maintaining temperature and moisture levels in your attic, reducing the risk of ice dams. Inadequate ventilation can shorten a roof’s life by up to 50%.


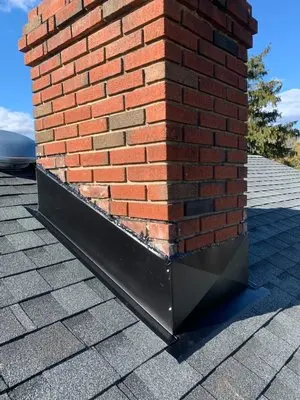
Aluminum Roof Vent, Pipe Flashing, Chimney Flashing
Step 10: Final Inspection
Once everything is completed and installed, caulking may be used to seal around penetrations. Then a thorough final inspection is done to ensure proper alignment and secure fastening of materials. This step is vital for guaranteeing quality workmanship and ensuring your new roof is free from leaks.

Comments